Tutorial 02 – Customize the map
In this tutorial we are going to customize our map style understanding most of the GO Map attributes and settings.
Let’s start with a simple operation: duplicate the scene used in the previous tutorial and put it into a new folder. We are going to create some new materials so you may want to keep things organized.
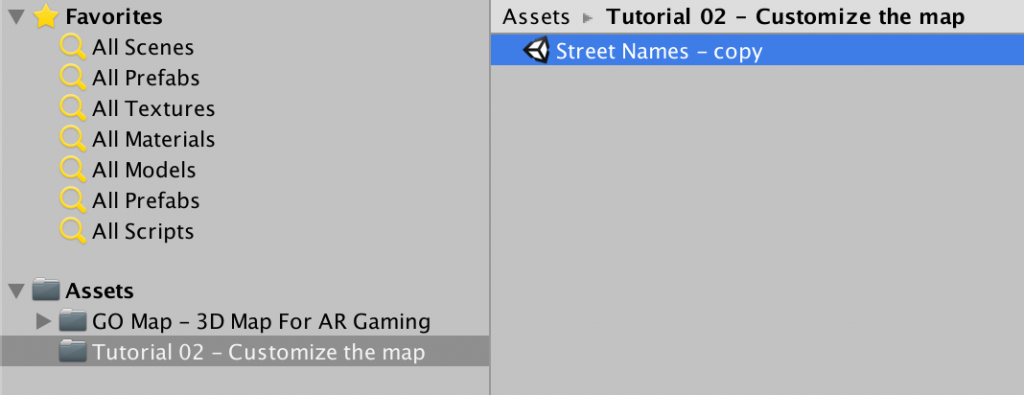
then rename the scene as you prefer =)
Change Location
In the previous tutorial we have made a valid Mapbox Access token and successfully loaded the map in the editor. If you press play in the new scene you can see the map loads just fine as before.
Before we start customizing the map let’s change the location of the in-editor build with a more tutorial-friendly area: Rome.
Select the LocationManager gameobject in the scene and change the “Demo Location” in the inspector panel to “Rome” using the drop down menu.
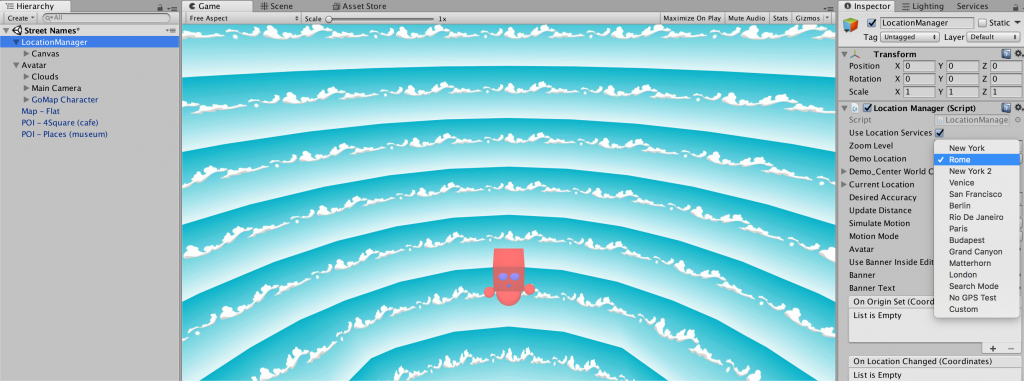
Now the map loads a sample location in Rome.
GO Map inspector
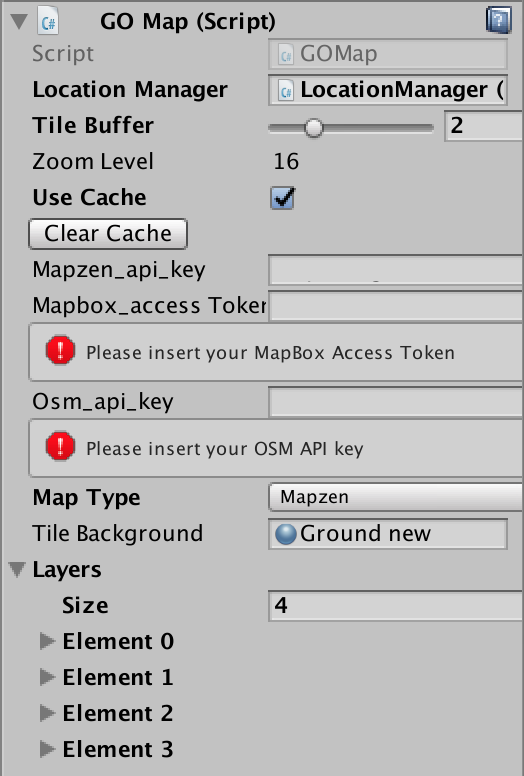
Select the Map – Flat game object in the scene and take a look at the GO Map inspector, precisely to the “Layers” attribute.
This is the main customization tool you have to change the map style. As you can see there are 4 entries in the list that represent each map layer: Buildings, Landuse, Water, Roads.
Take “Water” for example that is very basic, all water is blue.
In the “Default Rendering” there are all the basic settings for coloring the most of the layer’s objects. In this case you can see that the attribute “Material” inside the the default rendering is a water material.
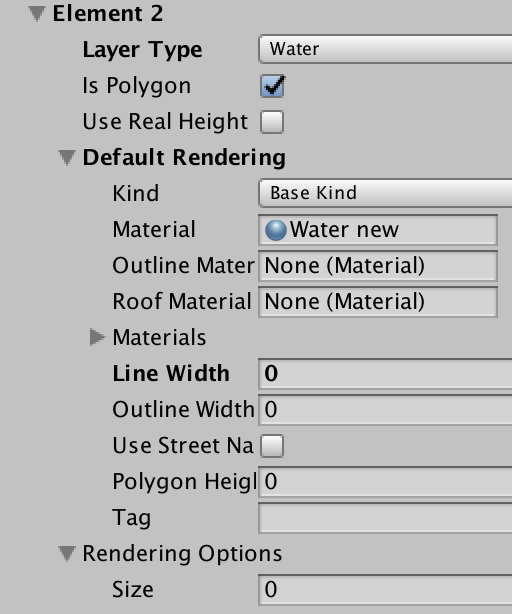
Changing the color of that material will change the aspect of every water area of the map.
The water layer has basically just this simple setting in this theme. But nothing stops you to make a different water material for lakes and rivers from the one used for sea/ocean, for example.
Buildings Layer has quite more settings to tweak. The Default Rendering material is a transparent green. But if you look at the rendered area you’ll see that some buildings are yellow and one is pink.
That’s made using the “Rendering Options” list in which you can set a different style for a particular subset of map objects.
There are already two options set for churches and schools, with two different materials (yellow and pink).
Clicking on the dropdown list of the “Kind” attribute you’ll see how many different kinds there are to customize, if you want. If you want to make a very complex map style using lots of kinds I strongly suggest you to take a look to the mapzen layers description.
Another important attribute of the building layer is the “polygon height”. That value means how much the buildings are extruded in the map, now it’s 2.
Try to set it to 10 and load the scene again (stop/play), you’ll see that the buildings are taller now.
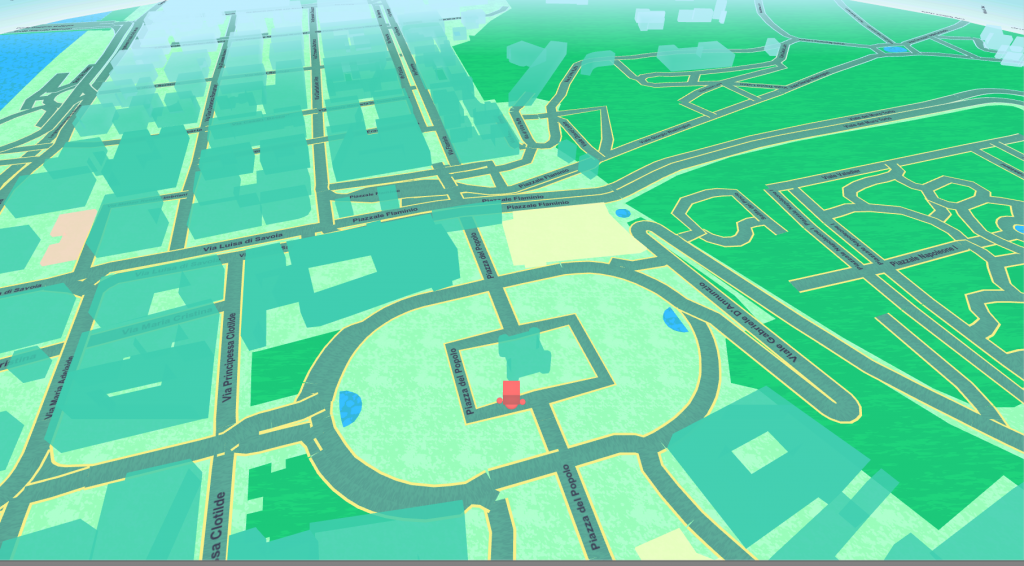
Not all the buildings though, Churches and Schools stayed flat, because their style overrides every Default Rendering value.
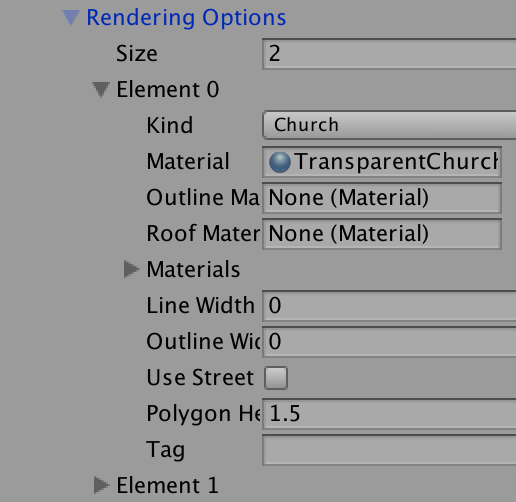
The “Use real heights” checkbox if selected will automatically extrude the buildings with their real values of height. That’s a great feature but sadly that data is not available worldwide, if you use it remember to set also a fixed value of height in case the real one isn’t available.
The Roads layer inspector also features various rendering overrides. This rendering options aren’t aimed to change the roads color or material but just the width.
The default width value is 3 but for almost every road kind has it’s rendering option:
- Highways: 5, outline 1
- Major roads: 4, outline 1.5
- Minor roads: 3.5, outline 1.5
- Path: 3.5, outline 1.5
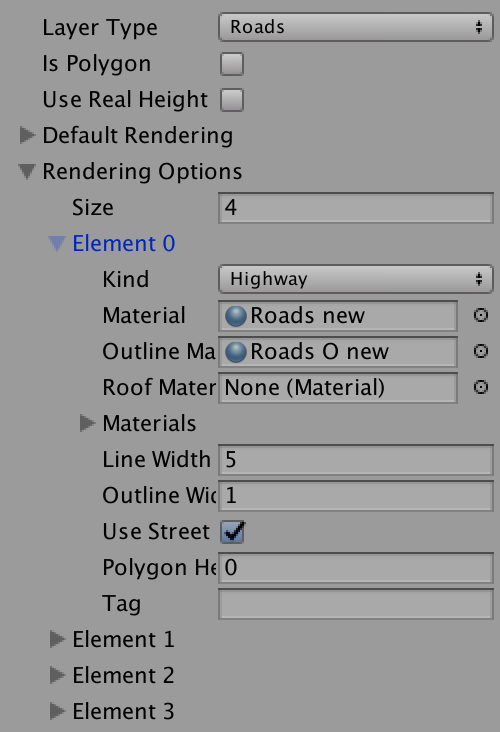
Basically the Landuse layer is all the rest that you see in the map, except for the background.
In this theme everything in dark green is landuse layer.
If you take a look at the kinds of the landuse layer you see how many options you have for customizing the map for your game/app.
Last but not least, we have the background, that is the GO Map inspector material attribute named: “Tile Background”. It is the light green of this theme, and it’s the material use for the tiles meshes.
Ok let’s customize GO Map creating a new theme, maybe for a “westworld” game with a lot of desert.
Let’s begin with creating some new materials for the land background, landuse layer and water.
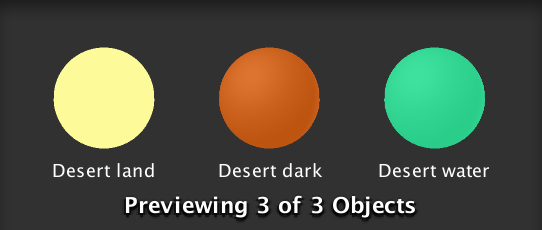
(or get the materials here)
Open the GO Map inspector and add the materials to the Background and the default rendering of Water and Landuse.
Check the checkbox named “disabled” on the Building and Roads layer to render only the layers we are interested in.
Play the scene and this is the result. Interesting.
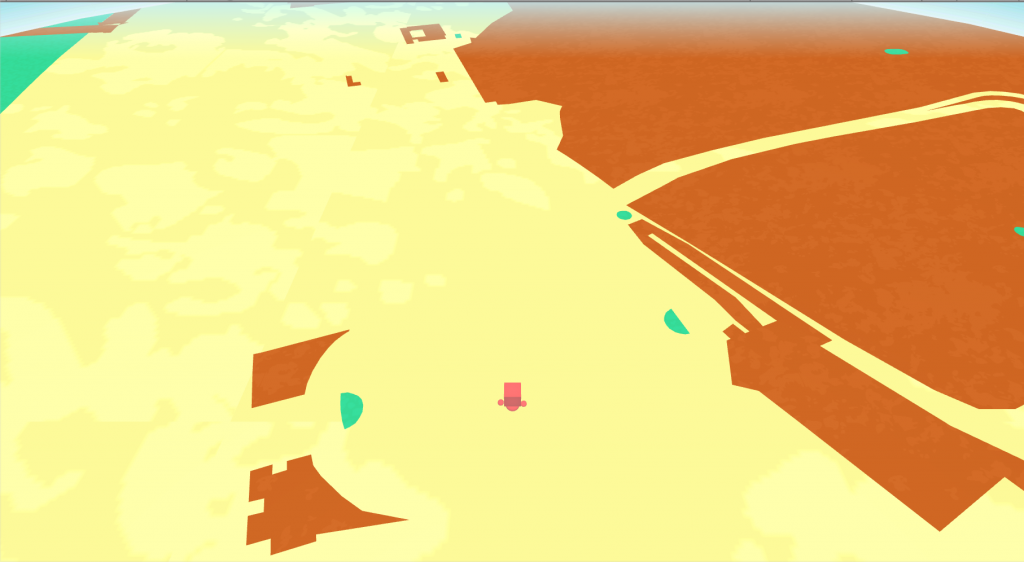
Now handle the Buildings and the Roads.
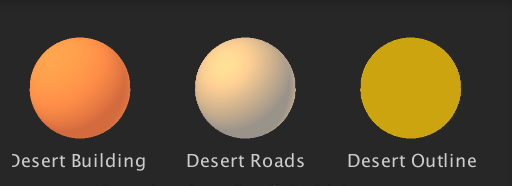
Add the materials to the Buildings default rendering and to the rendering options for churches and schools, settings different values of height for default = 3, churches & schools = 20.
Open the Roads layer and remove every Rendering Option, leave only the default Rendering, then set the new roads materials. Width of 3.5 and outline width of 1.
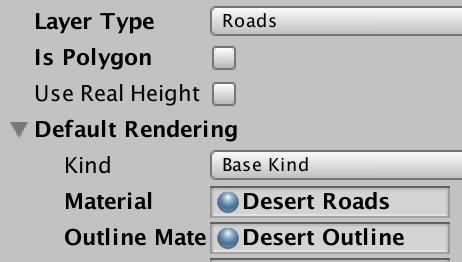
Enable again the Building and Roads layer and press play.
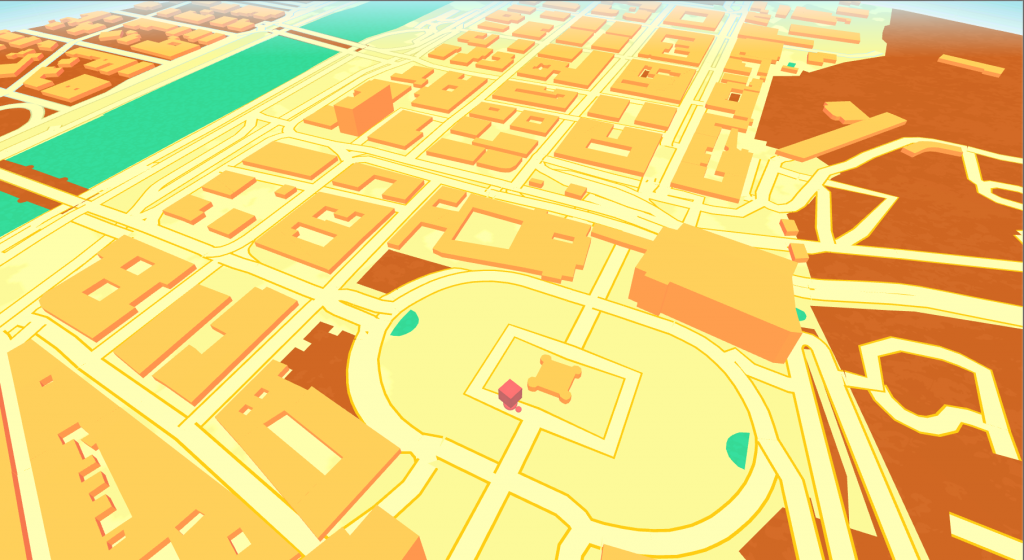
Not bad, now add a final touch:
Open the Landuse layer and increase the “Polygon height” to 2, this will extrude the objects a little.
Now add an override in the Landuse Layer for bridges, with the same Material of the background but with height 0. Just to see the roads over the bridges.
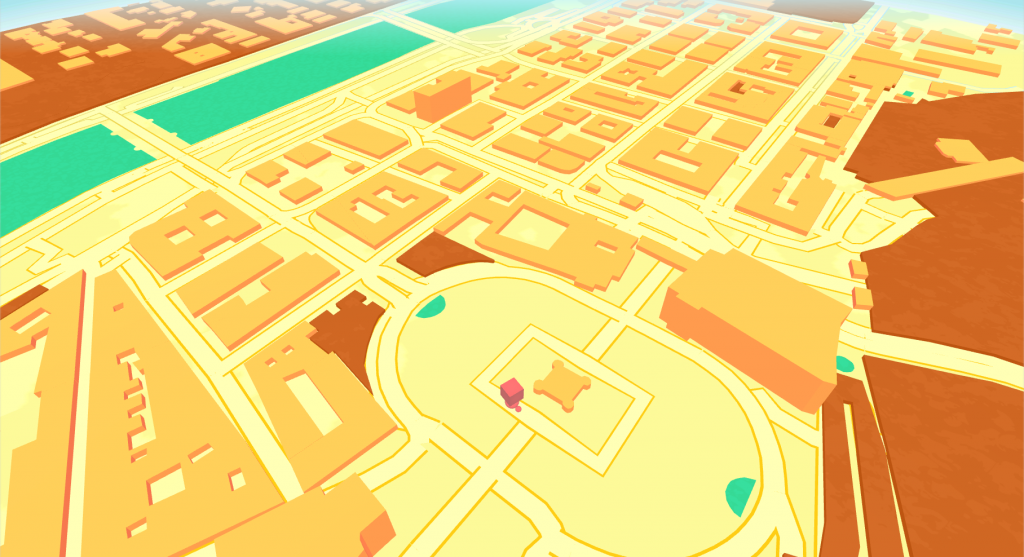
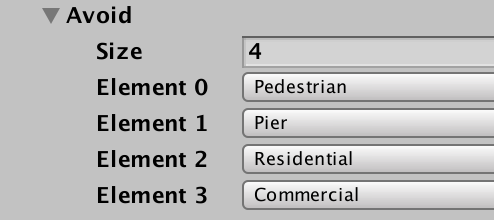
Tip*: Even if there’s no need for this particular location, I suggest to avoid the rendering of “Residential” and “Commercial” landuse kind.
Open the Landuse layer and simply add the new kinds in the “Avoid” list
I think the map looks pretty good already like this, but you could play a lot more with materials and shaders, lighting and all the other wonderful instruments that unity offers.
Download the scene
Hope you’ve found this tutorial useful, these are the complete settings for this scene:
- Background: Desert land
- Buildings
- Material: Desert Building
- Height: 3
- Override for School
- Material: Desert Building
- Height: 20
- Override for Church
- Material: Desert Building
- Height: 20
- Override for School
- Landuse
- Material: Desert Dark
- Height: 2
- Override for Bridge
- Material: Desert land
- Height: 0
- Override for Bridge
- Water
- Material: Desert Water
- Height: 0
- Roads
- Material: Desert Roads
- Outline Material: Desert Outline
- Height: 0
- Line width: 3.5
- Outline width: 1
