Tutorial 01 – Getting Started
GO Map is a project started over a year ago (summer 2016) to help every developer who wants to build a location based game in Unity 3D.
When pokemon go was released I noticed that among the thousands of plugins on the Unity Asset Store there wasn’t basically anything related to maps and absolutely nothing closer to the map of the famous Niantic game.
The goal of this project is to let developers build location based games without having to think at the map part at all. With GO Map you won’t have to code again a 3D map for your game (And trust me it’s a lot of time saved) letting you focus 100% on your game logic.
Let’s start this series of tutorials with the basics.
Download GO Map, import it in a new project and build on a mobile device using real GPS information.
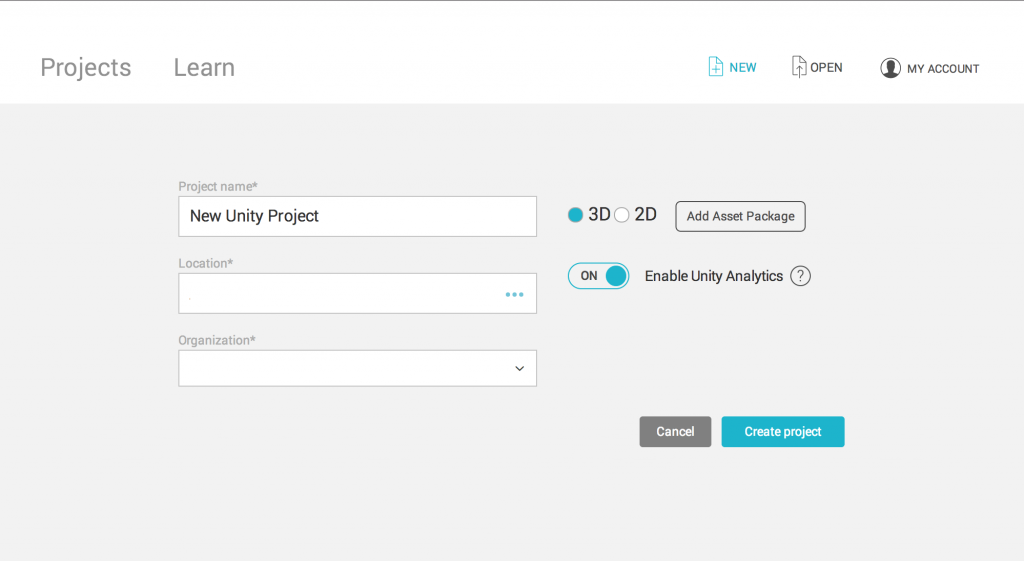
Make a new Unity Project
Possibly using Unity 2017.1 or higher make a new project in the folder you want.
Download GO Map
Open the Asset Store window from within Unity 3D (Window/Asset Store)…
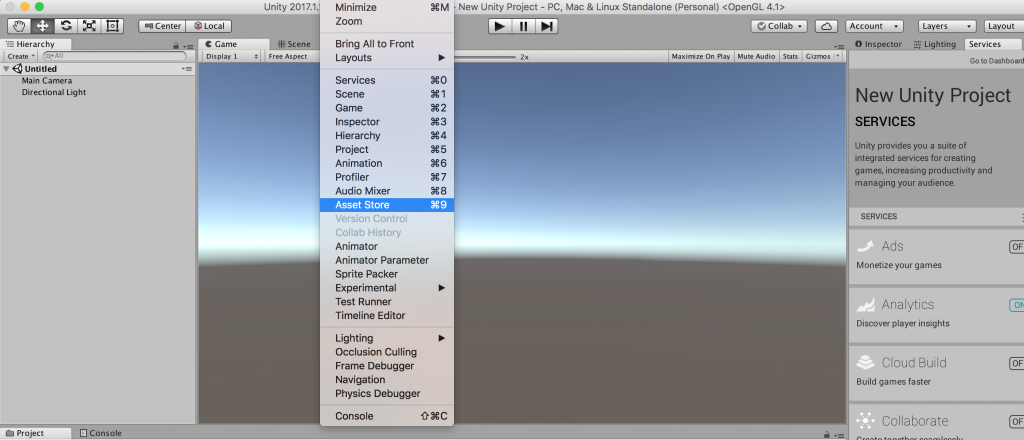
…And search for “gomap”.
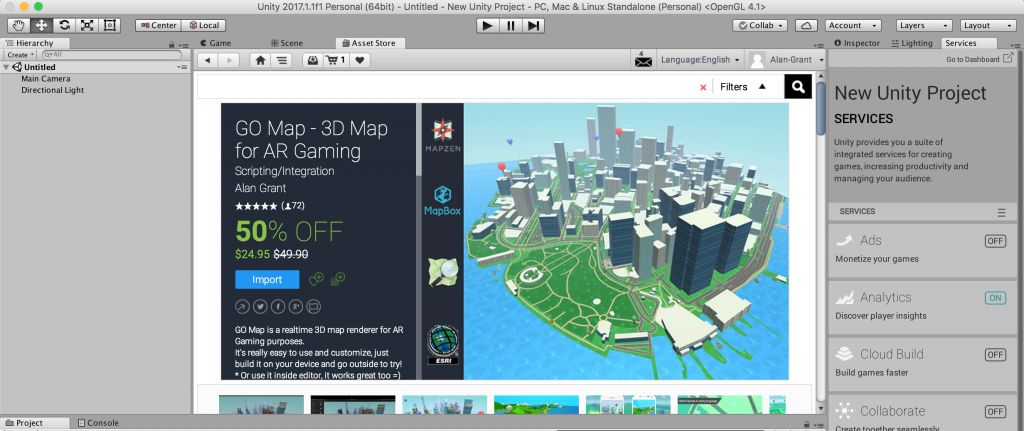
Click import and make sure that all files are selected, then click import again.
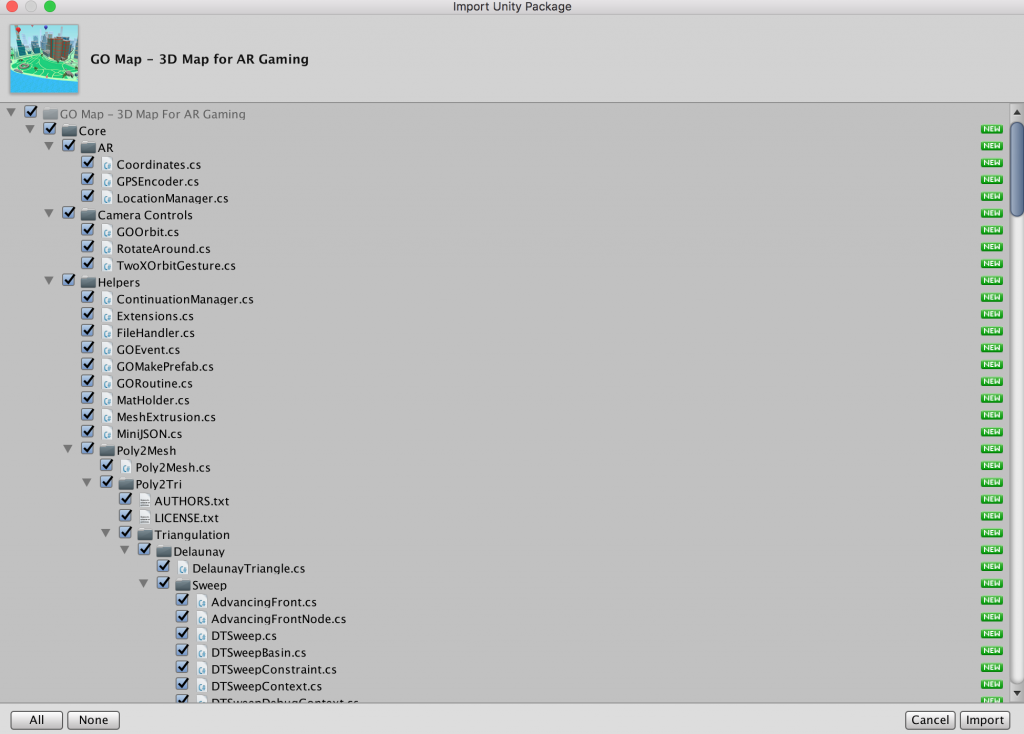
If you are using a newer version of unity it will ask you to update the API used, click yes and don’t worry =)
Open a demo scene
Navigate the GO Map folder and open the “Flat Map – Pokèmon GO Style” demo scene.
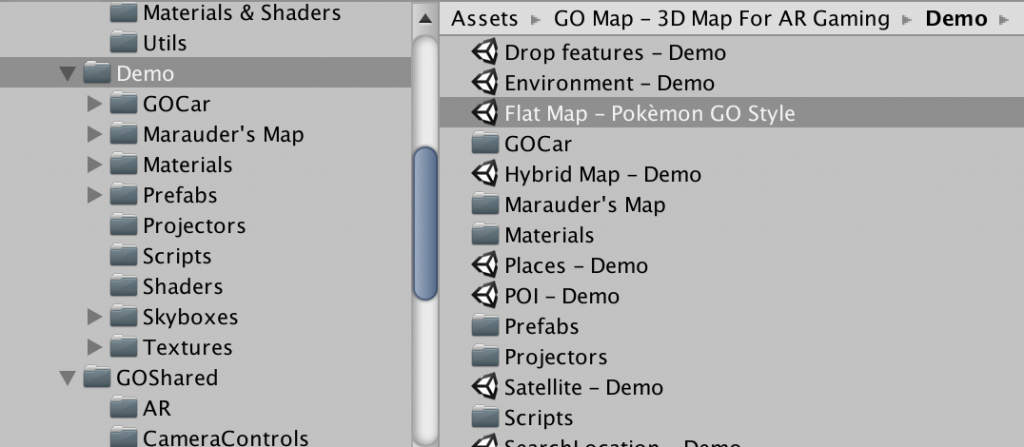
At this point you’ll notice that there are some Game Objects in the scene, they are all well covered in the GO Map documentation so right now let’s focus to the most important and make a quick build.
Select GO Map and take a look at the inspector panel. You’ll see that there are 3 input fields to insert API key for Mapbox, OSM or Mapzen_legacy (if you have your own mapzen server), and they are all marked by a red !.
That means it’s time to make your own map API key, choosing one service among the 3 listed above.
I will show you how to make an API key for Mapbox, but it’s really the same for the other two services.
Make a Mapbox Access token
Open your browser and make a Mapbox account on their website: https://www.mapbox.com/account/
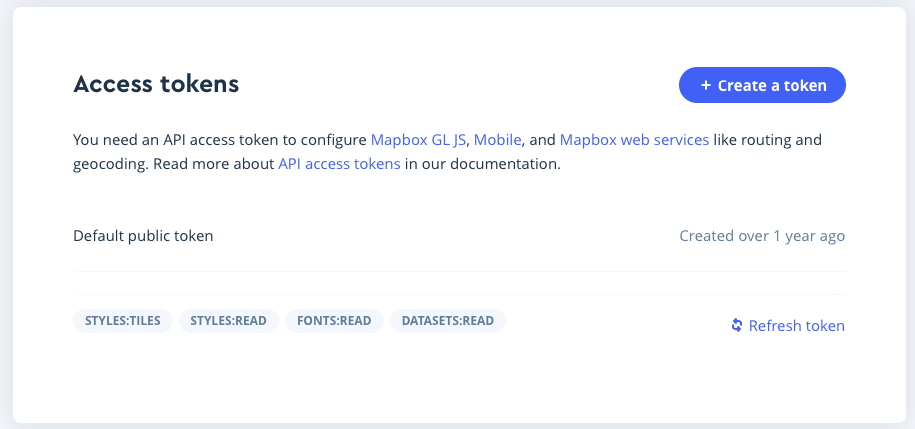
Once you have an account you can open the dashboard and receive your own access token. Copy it to the clipboard and go back to Unity.
Run GO Map in the editor
Paste your Mapbox Access token in the input field named “Mapbox_access_token” of GO Map (script). Then press play and you’ll see the map will load fine inside the editor.
The location used for editor builds is set inside the LocationManager (script) on the Location Manager GameObject. Feel free to try other location if you want.
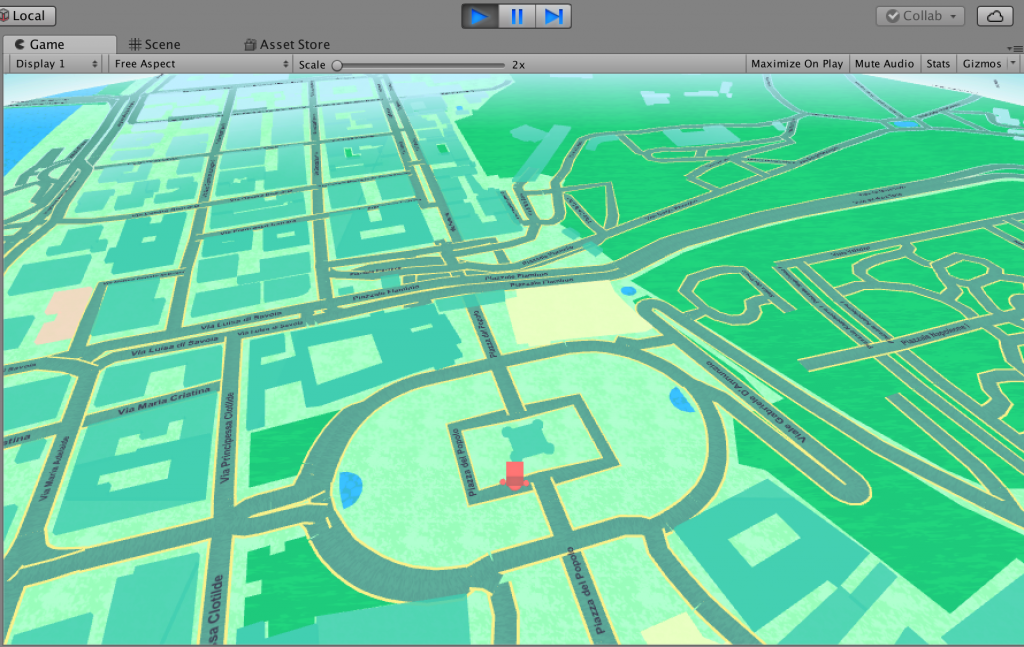
Build the scene on your phone
Building this scene to your smartphone will use its GPS device. That preference is also set in the LocationManager inspector and it’s named “Use Location Services”.
So open the Build Settings from the File/Build Settings menu and add this scene to the build by clicking on the “Add Open Scene” button.
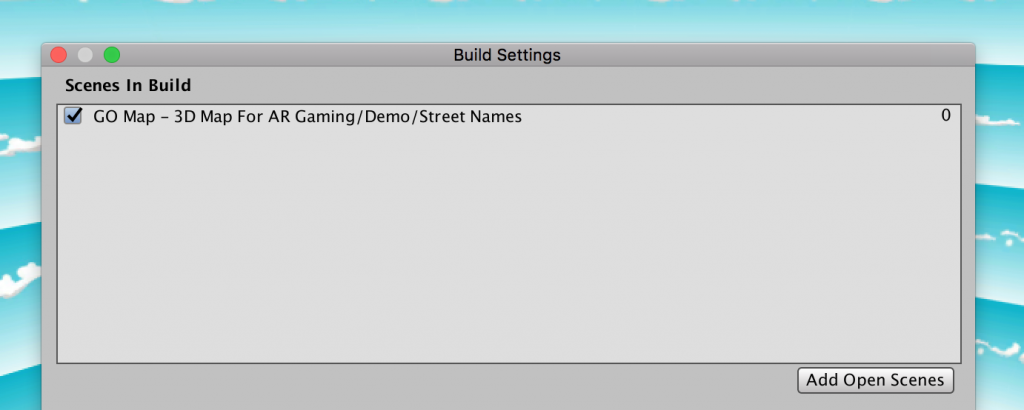
Select the player you want to use (Android/iOS) and open the Player Settings.
Change the “Package Name” to a different value than default like for example “com.gomap.demo” and you are good to GO.
Android
Just press build and run on with the device attached to your computer.
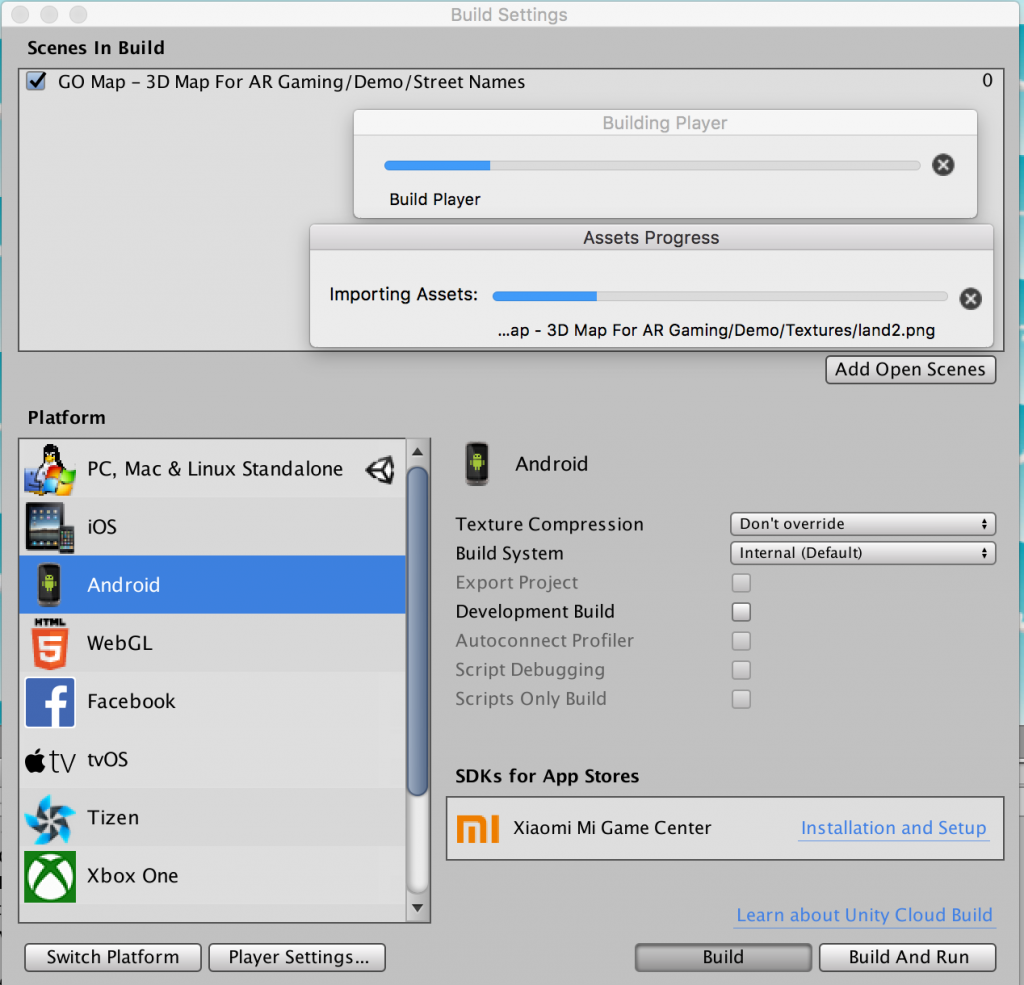
iOS
If you are building to iOS please add the “Location Usage Description” in the player settings. This will include in the generated .plist file the string to prompt when requesting Location Permission. Keep in mind that without this string your app won’t have permission to use GPS.
Press build and run with the device attached to your computer. If something goes wrong press build again from the generated XCode project.
That’s it, now you have GO Map working with real GPS on your mobile device.
Tips
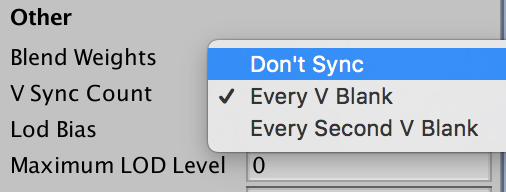
- Disable V Sync in quality settings for faster map loading.
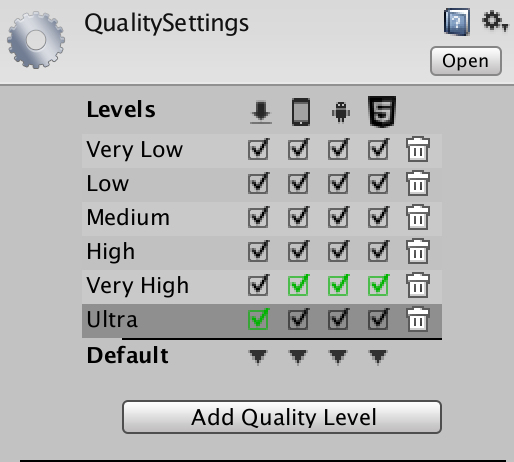
- Increase quality level for each player (ios/android) to have better looking graphics.
